AI Text to Video Generator

Turn a Written Scene into a Video

Text to video turns a written scene into a moving shot. Start with a subject and an action, then add the setting, camera movement, and light. It is a practical starting point for an advertisement, animated scene, or short story without a reference image.

Explore a Visual Style

Try a concrete scene: a paper fox crosses a woodland path, its folded tail moving with each step, in soft morning light. The subject, action, and material give the model more direction than a list of style words.

Write Actions in Order

For a product reveal, write the sequence: a closed watch box opens, the camera moves closer, then holds on the dial. Leave time for each action; start with one shot before adding scene changes.

Direct the Camera

A fixed shot, slow push-in, or lateral tracking move gives the clip a different pace. Name one camera move and explain what it follows instead of combining several conflicting directions.

Plan Movement and Timing

For sport, dance, or a product reveal, describe the key motion rather than every frame. Match the amount of action to the chosen clip length, leaving enough time for the viewer to read the scene.
How to Create a Video from Text

Start with a focused prompt and settings suited to the shot.

  1. Describe the Shot

    Write the subject, action, setting, and camera direction. For example: a sailboat crosses calm water at sunset; the camera follows from the side.

  2. Choose a Model and Format

    Select a video model and its available duration, resolution, and ratio. If the model offers audio, set it here and describe the sound you want.

  3. Generate and Review

    Check the credit cost, sign in, and generate. Preview the complete clip, download it, or change one prompt detail to compare another version.

Controls for Text to Video

Choose the settings that matter for the clip you intend to make.

Camera reference: a still subject against a passing train.

Video Model Selection

Keep the prompt while changing models to compare how each interprets the scene. Available settings update with the selected model.

Camera Directions

Use plain descriptions such as a slow orbit, fixed overhead view, or close-up reveal to guide framing and movement.

Clip Duration

Choose a duration offered by the model. A single action usually needs less time than a scene with several shots.

Resolution Options

Set the output resolution available for your chosen model. Use a draft setting to assess composition before making another version.

Aspect Ratio

Plan a landscape, square, or portrait frame for the destination. The ratio options depend on the selected model.

Preview and History

Review completed videos in the workspace and return to saved results in My Creations when signed in.

Video Ideas to Start From

Browse animation, product details, environments, and science-fiction scenes for your next prompt.

Explore more AI models

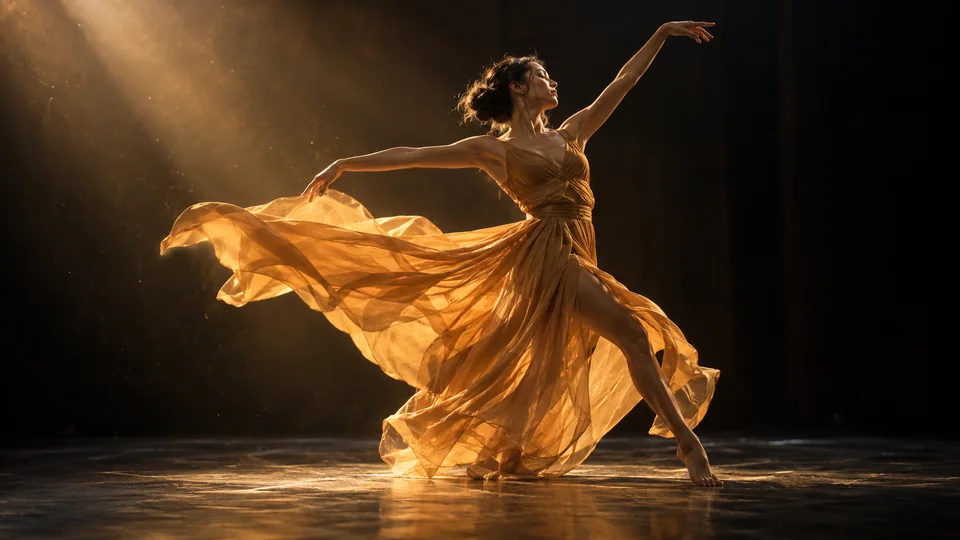
A dancer in amber fabric under warm stage lighting
Video model

Seedance 2.0

Create short clips with text, image, video, and audio references.

Explore model
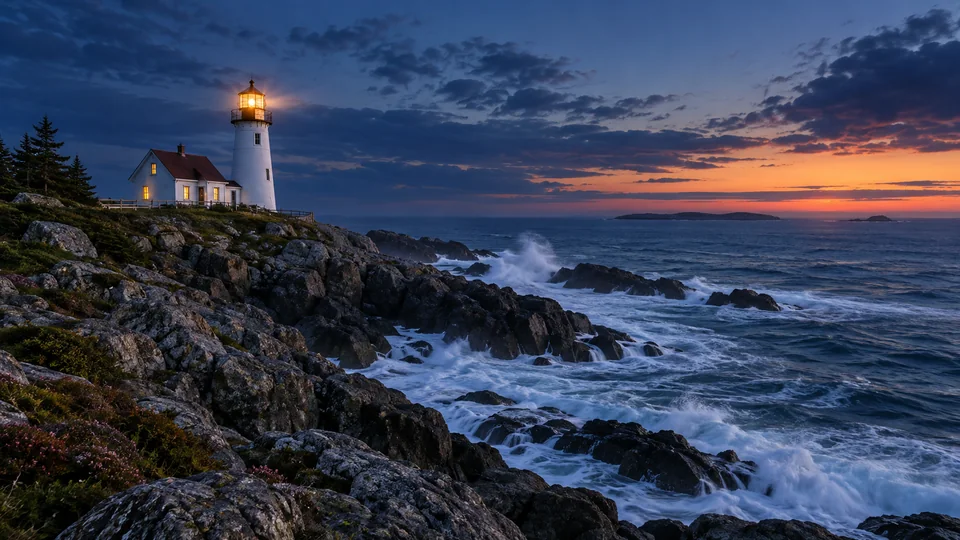
Lighthouse above a rocky coast at blue hour
Video model

Seedance 2.5

Explore longer scenes and precise reference-based video creation.

Explore model
Ivory ceramic cup on a terracotta pedestal
Image model

Nano Banana 2

Create and edit reference images before making a video.

Explore model
Emerald botanical poster with LEAF lettering
Image model

GPT Image 2.5

Prepare layouts, illustrations, and visual concepts for a first frame.

Explore model

Frequently Asked Questions

Practical answers about prompts, settings, and video creation.

Text to video uses a written description to generate a moving scene. Your prompt describes the subject and action, while the model creates the frames. It is useful when you have an idea or shot description but no starting image.

Use subject + action + setting + camera + light. For example: a red sailboat crosses calm water at sunset; the camera tracks from the side, with warm reflections on the waves. Start with one action. For a sequence, state the shot order and leave time for each event instead of adding unrelated instructions.

Start with a model that supports the inputs and output settings you need. Try the same short prompt with another model to compare motion and framing. Model names and available options appear in the selector above.

Yes. Switch to Image to Video in the generator and upload a reference image. Use the prompt to describe the movement you want while the image supplies the starting composition.

Some models offer audio generation. Check the selected model’s settings: if an audio option is available, enable it and describe the dialogue, background sound, or music in the prompt. Audio support varies by model; preview the finished clip before downloading.

They vary by model. After you select a model, the generator shows its duration, resolution, and aspect-ratio options. Choose those settings before checking the credit cost.

The generator displays the cost for the current model and settings before you submit. Check that amount after changing duration, resolution, or other options; there is no single fixed cost for every model.

Processing time depends on the selected model, clip settings, and current demand. Keep the workspace open while the request runs. Once the result is ready, you can preview and download it.

Preview the result in the generator or open My Creations after signing in. Review the saved clip before downloading so you can check motion, composition, and any generated audio.
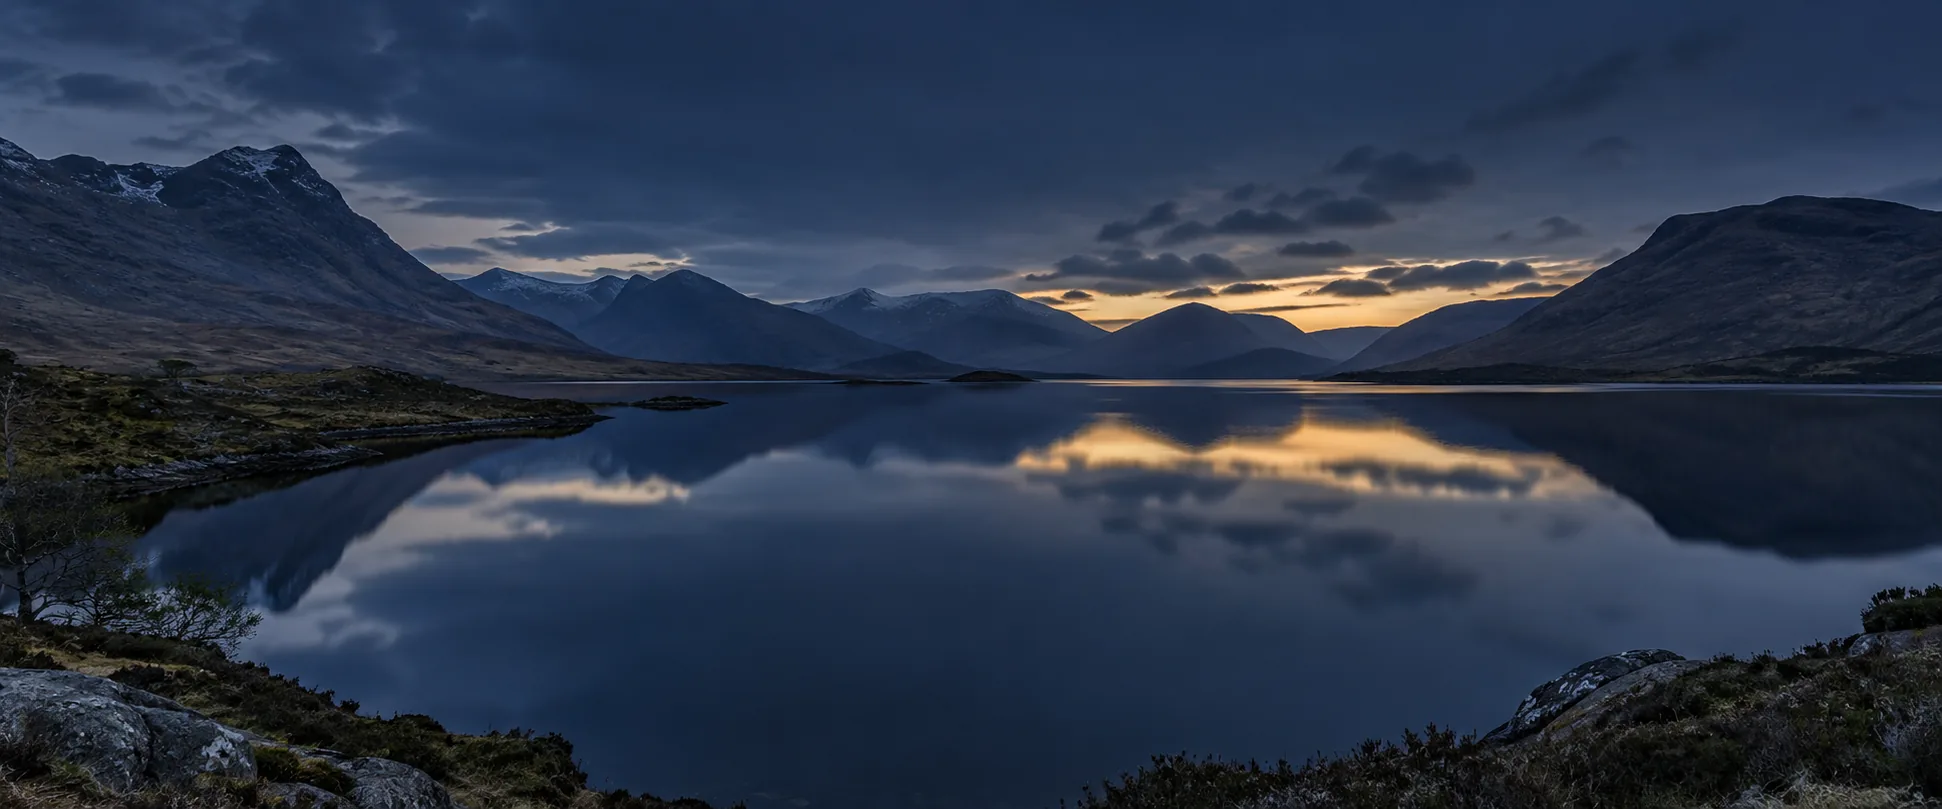
Still Highland lake and layered mountains at blue hour

Create Your Next Video in Seedance

Write your prompt, choose a model, and set the output in one workspace. See the credit cost before submitting, then preview and download your video. Saved results are available in My Creations.