AI Image to Video Generator

Start a Video from Your Image

Image to video uses a photo or illustration to establish the subject and composition. A motion prompt describes what happens next and how the camera moves. Product photographs, portraits, landscapes, and artwork can each provide a starting point.

Keep the Visual Direction Clear

Use a clear image with the subject fully in frame and space for the planned movement. For a product shot, keep the silhouette and label readable; a small camera move is a useful first test.

Give the Subject One Action

For a portrait, try: the person turns slightly toward the window, their hair moves in a light breeze, and the camera stays fixed. Describe the change you want rather than repeating every detail already in the image.

Move the Camera with Purpose

A slow push-in can reveal detail; lateral tracking can show depth. Keep subject motion and camera movement distinct so the prompt explains both without making the shot unnecessarily busy.

Compare Motion from the Same Frame

Keep the reference image and output settings fixed while changing one motion cue. Compare the complete clips, then refine the version that suits your project.
How to Turn a Photo into a Video

A clear reference and a short motion description are a useful starting point.

  1. Upload a Reference

    Select a model, then upload a clear reference in its supported format. Check the crop, image-count limit, and room around the subject.

  2. Describe Motion and Set Options

    Describe the subject action and camera movement separately. Choose the available duration, resolution, and ratio; set audio if the model offers it.

  3. Generate and Preview

    Check the credit cost, sign in, and generate. Watch the full clip for subject and motion changes, then download it or return to saved results in My Creations.

Controls for Image to Video

Use the reference image to set the look, then choose how the shot develops.

Detail reference: one precise action in a close-up food scene.

Reference Upload

Start from a product photograph, portrait, environment, or illustration. Clear edges and enough space around the subject make the intended composition easier to read.

Motion Description

Write what changes in the scene. Separate the subject action from camera movement and identify details you want to keep.

Model Selection

Try the same image with another model to compare interpretations. Each model provides its own supported settings.

Camera Movement

Guide a push-in, orbit, or fixed shot in words. Match the movement to the perspective and space already present in the image.

Output Format

Select a supported ratio and resolution for the intended display. Check the crop so important details stay inside the frame.

Result Preview

Watch the completed clip in the workspace. Signed-in users can return to saved videos in My Creations and download the version they want.

Image to Video Creative References

Study composition and movement in these existing video examples before preparing your own image.

Explore more AI models

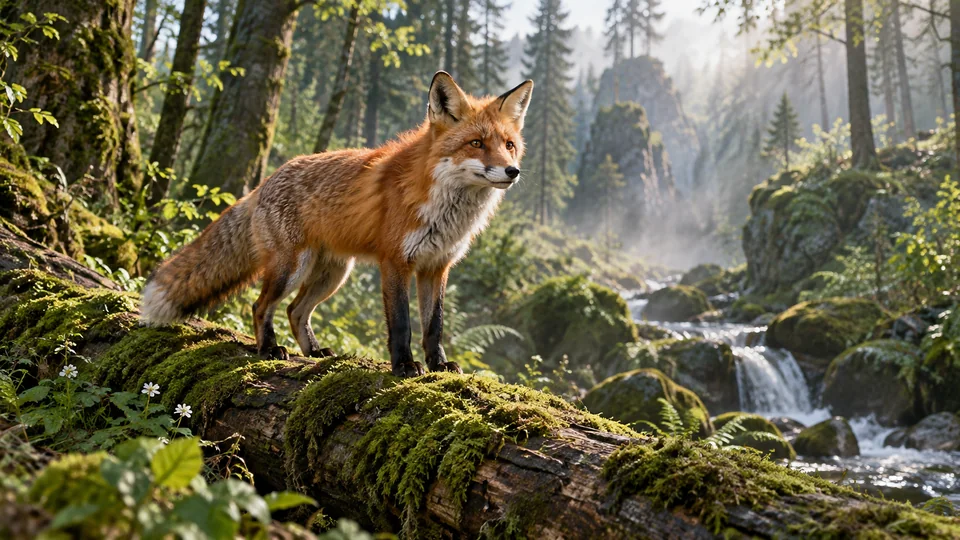
Red fox on a mossy trunk in a misty forest
Video model

Seedance 2.0

Create short clips with text, image, video, and audio references.

Explore model
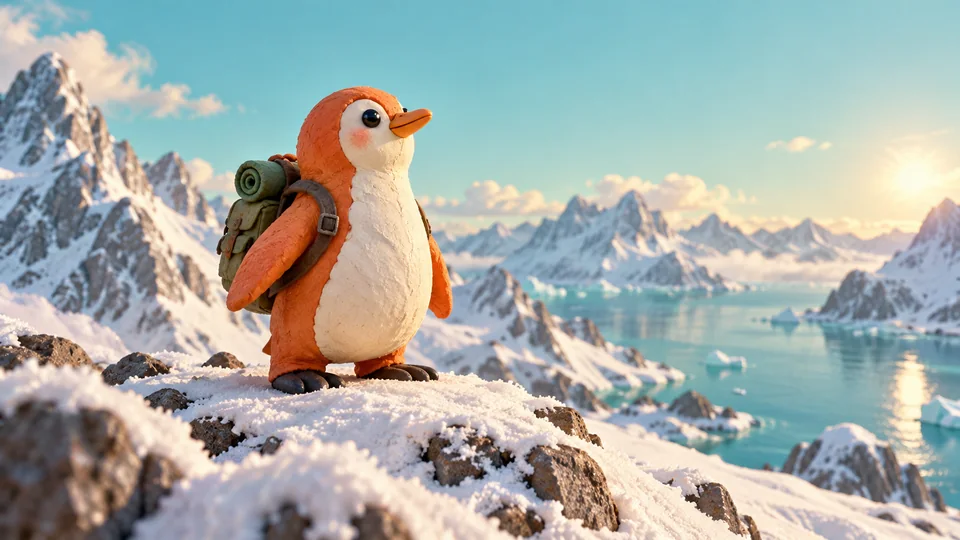
Clay penguin explorer on a snowy ridge
Video model

Seedance 2.5

Explore longer scenes and precise reference-based video creation.

Explore model
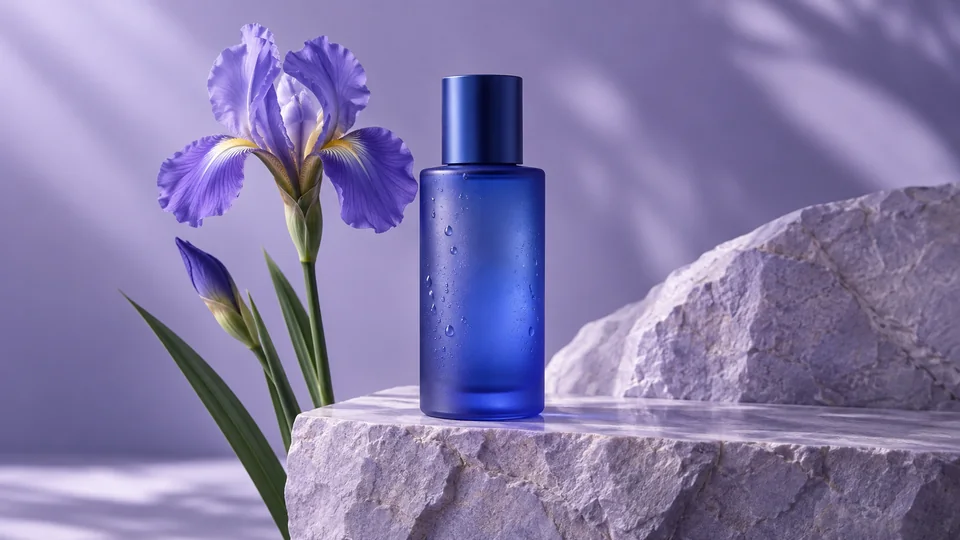
Cobalt-blue skincare bottle on pale lavender stone
Image model

Nano Banana 2

Create and edit reference images before making a video.

Explore model
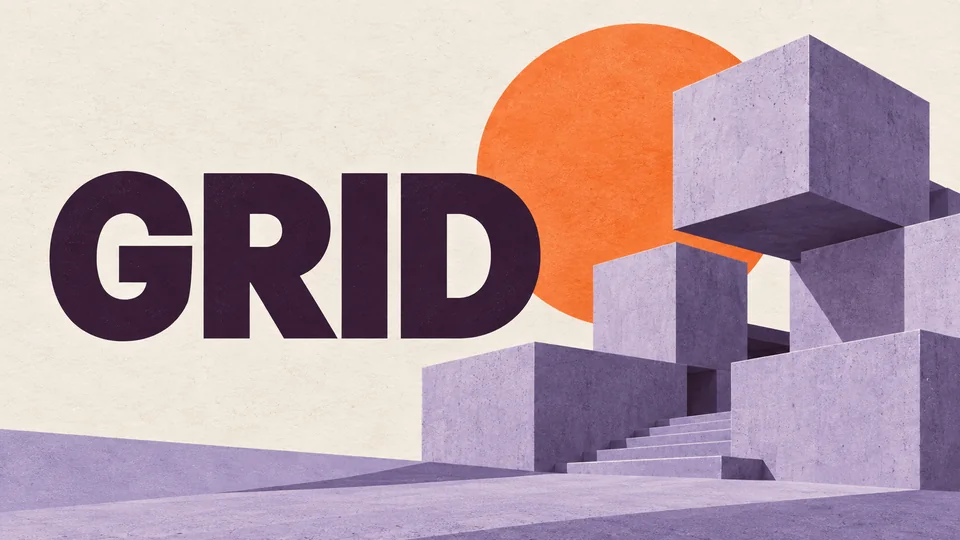
Lavender geometric poster with GRID lettering
Image model

GPT Image 2.5

Prepare layouts, illustrations, and visual concepts for a first frame.

Explore model

Frequently Asked Questions

Preparing reference images and describing the motion you want.

Image to video uses a still picture as the visual starting point for a generated clip. The reference establishes the subject and composition, while a text prompt can describe the action and camera movement.

Start with a sharp image, a clear subject, and enough surrounding space for the intended motion. Avoid relying on tiny text or heavily cropped details if they need to remain visible throughout the clip.

JPG, PNG, and WebP are accepted by the image upload controls. File-size and image-count limits depend on the selected model and input mode; check the uploader before submitting. Match the image to your intended composition and follow any aspect-ratio requirements shown for frame inputs.

A motion prompt gives the model a next action; follow its prompt requirements. For example: the person slowly turns toward the window, hair moves in a light breeze, and the camera stays fixed. Describe subject motion and camera movement separately; the image already provides the starting appearance.

The image guides the result, but exact details can change as the scene moves. Use restrained motion when identity, product shape, or fine details matter, and inspect the complete clip before using it.

An image reference guides the subject’s appearance or visual style. A first frame defines the opening image; a last frame provides an ending target when the model supports it. These inputs are not interchangeable. Select a model first and use the inputs it exposes; some modes cannot be combined.

The selected model determines the available resolutions, aspect ratios, and clip lengths. Check the settings in the generator and choose the intended display format before generating.

The credit cost is shown before submission and depends on the model and settings. Check it again after changing duration or resolution. Processing time also varies by model and current demand.

When generation completes, preview and download the result in the workspace. You can also return to saved results in My Creations after signing in.
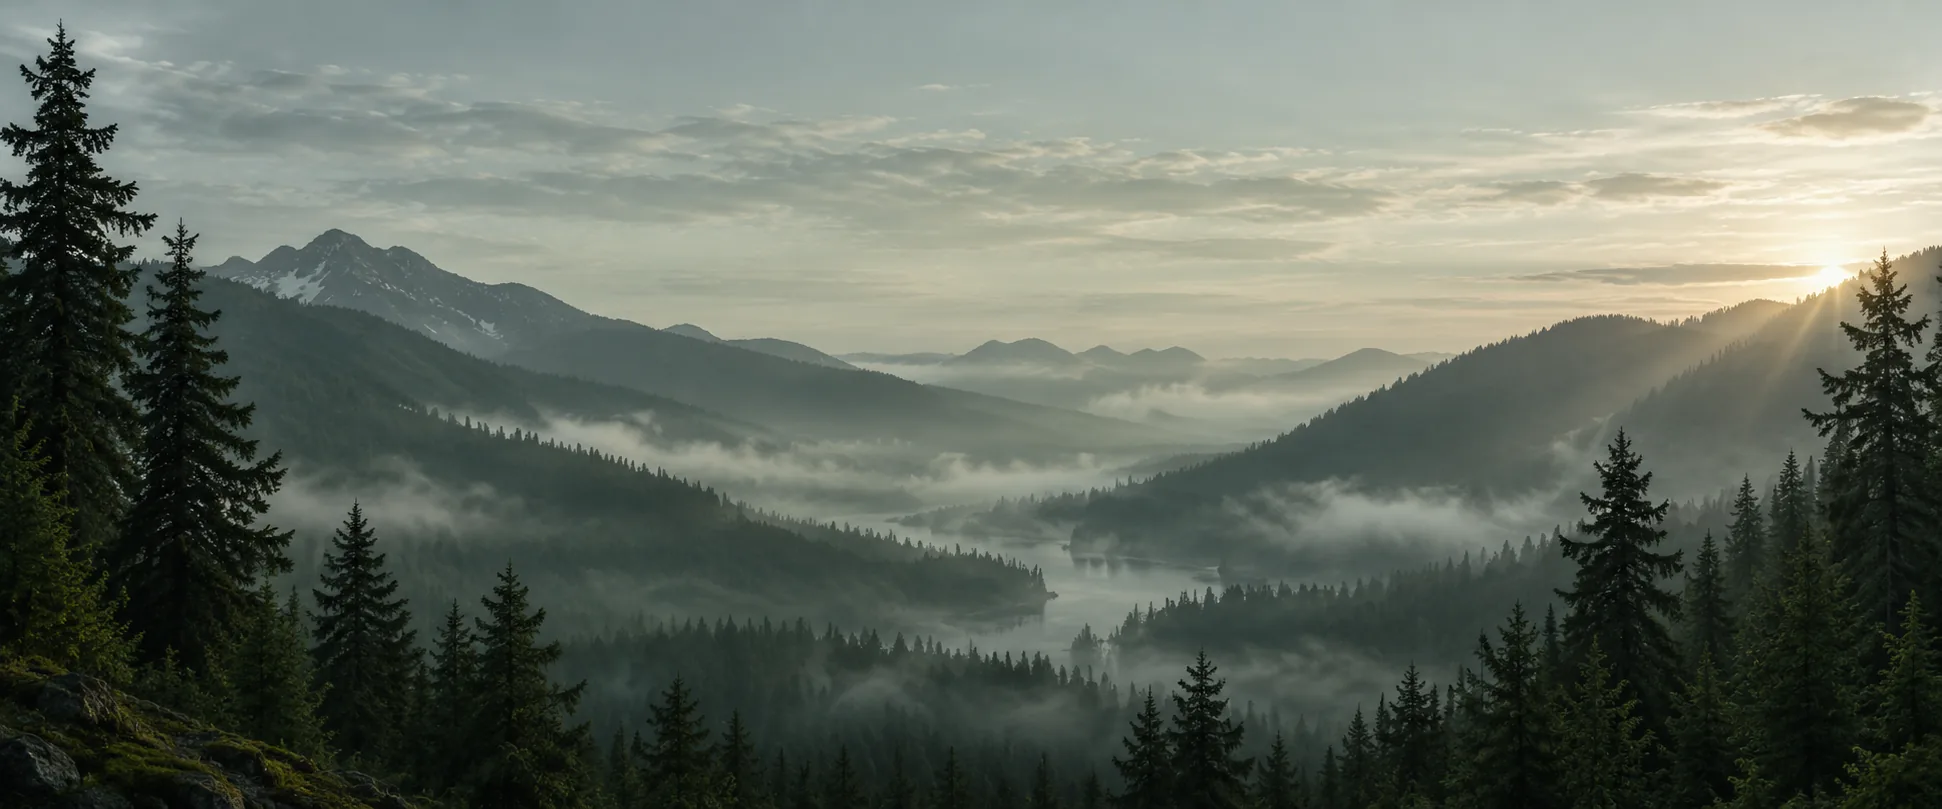
Mist between conifer-covered ridges in a forest valley at dawn

Give Your Image a Next Scene

Upload a reference, describe the motion, and compare available models in one workspace. Check the credit cost before generating, preview the result, and download it. Need a starting image? Prepare one with our image tools first.