Nano Banana photo restoration repairs physical creases, emulsion scratches, motion blur, and faded tones in old photographs by reconstructing missing textures rather than smearing pixels. The difference between a museum-grade restoration and an uncanny "wax figure" edit comes down to one habit: writing a keep-list prompt that locks facial geometry, age lines, and film grain before asking the model to remove damage.
Most one-click restoration apps treat every wrinkle as noise and every monochrome shadow as a blank canvas for neon color. In Nano Banana, you control the edit with natural language—separating structural repair from colorization so your subject still looks like the same person photographed in the same decade.
Why Most AI Photo Restorations Look Like Plastic
When you upload a faded portrait and write a vague prompt like "restore and enhance to 4K HD", generative models default to modern studio beauty priors. Skin pores vanish, laugh lines flatten, eyes pick up synthetic studio ring-light reflections, and 1950s wool jackets turn into smooth polyester.
The diagnostic split below shows what happens when a restoration prompt omits texture constraints versus when it explicitly locks skin pores and period grain.
| Approach | Creases & Tears | Facial Identity | Skin & Fabric Texture | Color Accuracy |
|---|---|---|---|---|
| Standard Upscaler | Magnifies cracks & scan dust | Preserved, but remains blurry | Sharpens JPEG noise | No color recovery |
| Naive AI Prompt ("make HD") | Removes creases | Drifts toward generic AI face | Waxy, airbrushed "plastic skin" | Oversaturated modern HDR tint |
| Nano Banana Keep-List Method | Context-aware seam fill | Locks bone structure & wrinkles | Preserves pores, weave & fine grain | Decade-matched natural tones |

The Keep-List Restoration Prompt Formula
A reliable Nano Banana photo restoration prompt has three short parts in a fixed order:
- Damage to remove — Name exact physical defects ("remove diagonal fold crease, white emulsion scratches, dust specks, and water stain").
- The Keep-List — Lock what must stay untouched ("keep exact facial structure, age wrinkles, eye shape, hairline, pose, and clothing seams").
- Period & medium anchor — Tell the model what era of camera and film it should look like ("1950s 35mm daylight photograph, natural skin pores, subtle silver-halide film grain, no airbrushing").
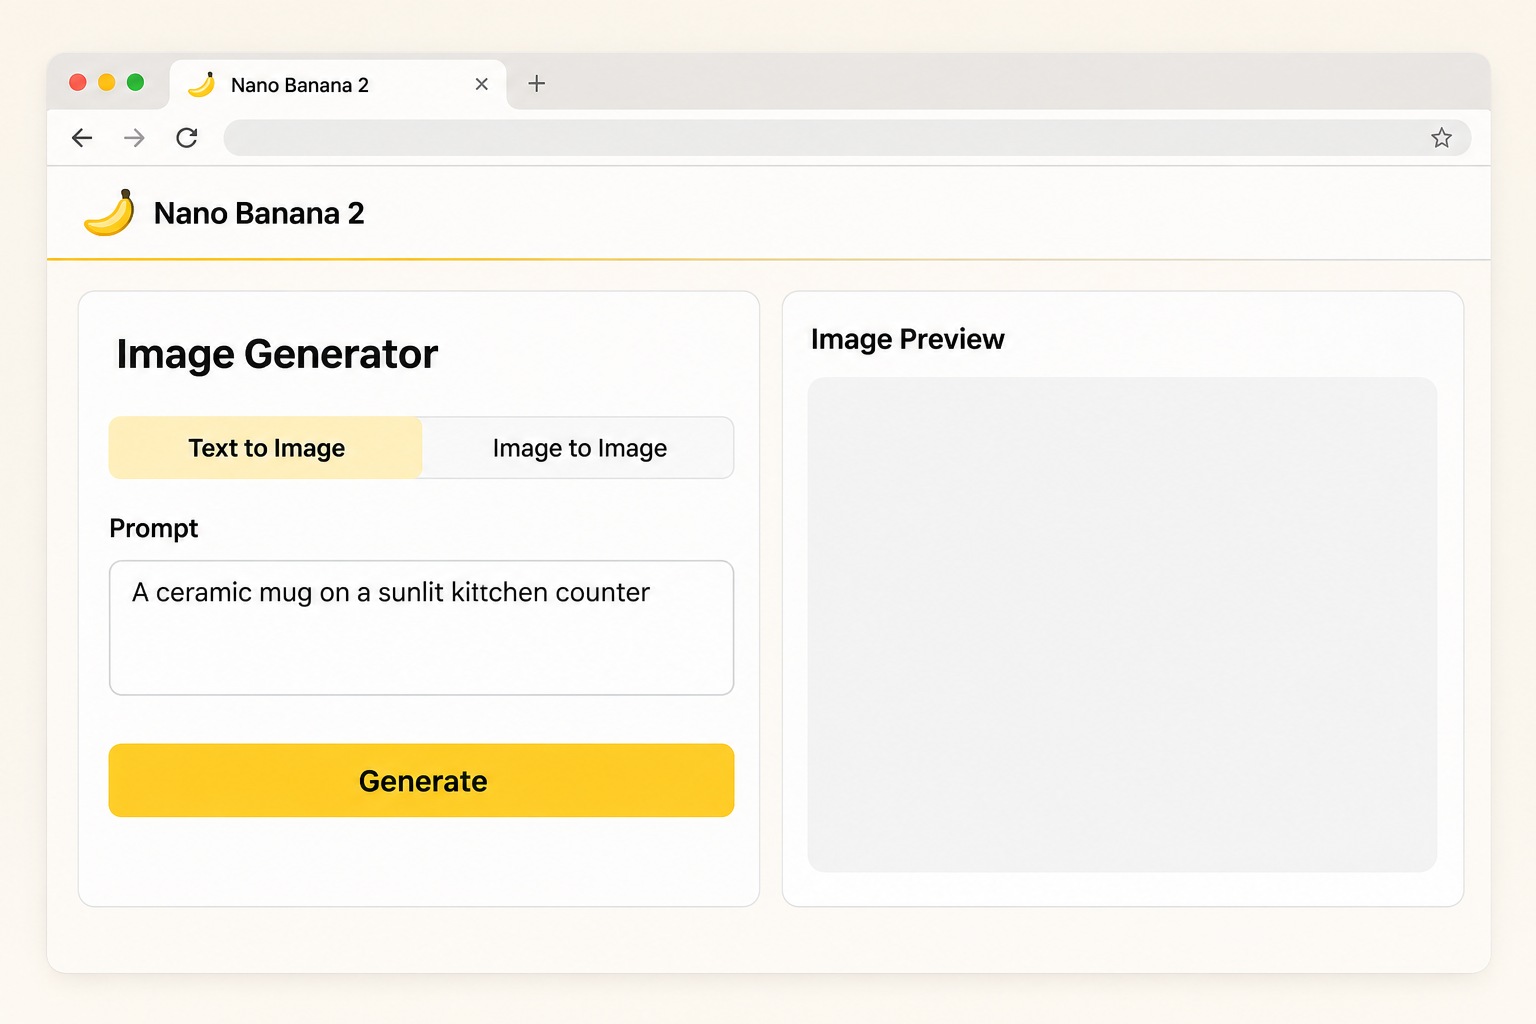
Copy the baseline prompt below into the Nano Banana Image Generator after uploading your scan:
Restore this vintage photograph. Remove physical fold creases, white emulsion scratches, dust specks, and paper yellowing. Keep the exact facial geometry, natural age lines, eye shape, expression, hairstyle, clothing folds, and background composition unchanged. Reconstruct sharp eyes, realistic skin pores, and natural fabric weave. Preserve subtle 35mm photographic film grain and balanced natural daylight. No plastic skin, no airbrushing, no modern studio gloss, no oversaturation.
Pass 1: Repair Cracks and Stains in Monochrome First
If a photo has heavy physical damage—tears across a lapel, jagged fold lines near a face, or water stains—do not colorize in the same pass. Asking the model to invent missing structure and invent new hues simultaneously increases the chance of muddy color bleed along repaired seams.
Run Pass 1 purely to heal structure while staying in the original monochrome tones. Inspect the healed black-and-white print first; once the face and clothing seams look faithful, save that clean master as your base for optional colorization.


Cleanly restore this damaged black-and-white portrait while keeping it strictly monochrome silver-gelatin. Remove the diagonal paper fold crease, white dust spots, scratches, and upper-corner water stain. Keep the subject's exact face, age wrinkles, eyebrows, silver hair, wool tweed jacket weave, collar shape, and studio lighting unchanged. Restore crisp focus in the eyes and retain fine archival film grain. Do not colorize and do not smooth skin wrinkles.
Pass 2: Decade-Accurate Colorization and 4K Upscaling
Once your structural master is clean, upload it for Pass 2. The secret to believable vintage colorization is restrained saturation and decade context. Mentioning the era ("1940s muted wool dyes" or "1970s warm Kodachrome balance") prevents neon greens and artificial orange-teal grading.
- 1920s–1940s prints: specify muted natural dyes, charcoal/brown wools, warm ivory whites, and soft shadow roll-off.
- 1950s–1960s prints: specify balanced Kodachrome daylight, natural skin undertones, and clean midtone contrast.
- 1970s–1980s prints: specify gentle warm cast, natural indoor tungsten falloff, and visible fine color grain.
Colorize this restored monochrome photograph with historically accurate 1950s daylight color tones. Keep the exact facial identity, skin texture, expression, clothing folds, and background untouched. Use natural muted fabric colors, realistic warm skin undertones, and soft ambient light. Maintain subtle 35mm film grain and export with crisp 4K archival detail. Avoid oversaturated modern HDR colors or smooth plastic skin.
Real Test: Before-and-After Inspection Checklist
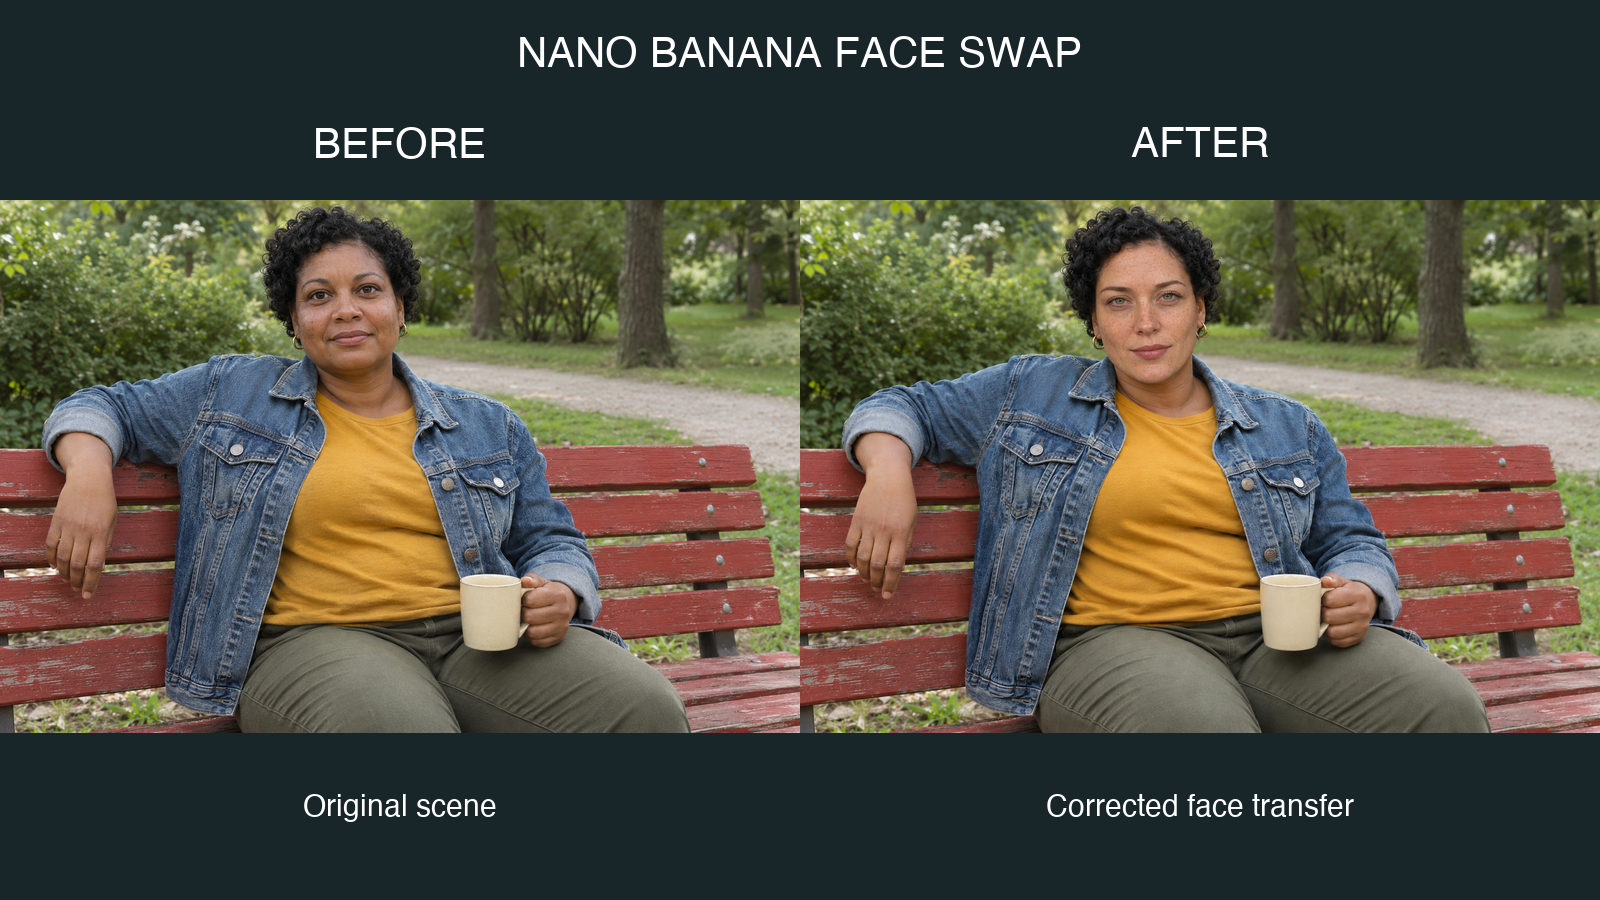
Before saving or printing any restored image, zoom to 100% and run a 4-point fidelity check against your original scan—the same discipline used in our Nano Banana Face Swap workflow:
- Eyes & catchlights — Confirm pupil alignment and iris color match the original gaze direction.
- Collar, buttons & fabric seams — Check where a crease crossed clothing; repaired stripes or lapels should stay straight.
- Ears, hairline & glasses — Edges around spectacles and stray hair are where AI models most often hallucinate extra lines.
- Grain uniformity — Repaired patches should carry the same subtle film grain as the untouched background, not look like smooth stickers.


Common Restoration Failures and Exact Fixes
If your first output misses the mark, do not keep re-editing the flawed output (errors compound). Return to your original scan and add the targeted fix from the table below:
| Symptom | Root Cause | Exact Prompt Fix |
|---|---|---|
| Waxy, airbrushed skin | Generic "HD / smooth" wording triggered beauty filters | Add "preserve natural skin pores, age lines, and subtle 35mm film grain; no airbrushing" |
| Face looks slightly younger or different | Missing identity keep-list on a blurry face | Add "keep exact bone structure, nose bridge, eyelids, and natural age; only sharpen existing details" |
| Muddy color bleed on creases | Repairing tears and colorizing in a single pass | Split into Pass 1 (monochrome repair) then Pass 2 (colorization) |
| Warped eyeglasses or jewelry | High edit strength over thin high-contrast frames | Explicitly name them: "keep exact wire-frame glasses shape and thin rim unbroken" |
| Harsh digital halos around hair | Over-sharpening artifacts on low-res scans | Replace "ultra sharp" with "natural optical lens focus and soft film edge roll-off" |
Frequently Asked Questions
What is Nano Banana photo restoration?
Nano Banana photo restoration is an AI image-editing workflow in Nano Banana that removes physical creases, emulsion scratches, dust, stains, and blur from old or low-resolution photos while preserving original facial identity, clothing textures, and authentic film grain.
Should I fix scratches and colorize in one prompt or two passes?
For lightly faded photos, a single keep-list prompt works well. For prints with deep creases, torn paper, or water stains across faces or clothing, a two-pass workflow (Pass 1 monochrome structural repair, Pass 2 colorization and 4K upscaling) produces noticeably cleaner edges and prevents color bleed.
How do I stop AI photo restoration from making skin look like plastic?
Avoid words like "flawless", "beautify", or "ultra smooth". Instead, explicitly include a keep-list phrase such as "preserve natural skin pores, age lines, and subtle 35mm film grain; no airbrushing or plastic smoothing".
What scan resolution gives the best restoration results?
Scan physical prints at 300 to 600 DPI on a flatbed scanner, or photograph them flat in even indirect window light with no glass glare. Higher-quality inputs give the model cleaner facial landmarks so identity stays locked.
Can Nano Banana restore blurry early-2000s digital photos as well as vintage prints?
Yes. Replace print-specific damage terms ("paper fold creases") with digital defects ("remove JPEG compression blocks, color noise, and mild motion blur while keeping natural skin texture and original lighting").
Ready to test the keep-list workflow on your own archive? Open the Nano Banana Image Generator, upload your scan, and paste the Pass 1 prompt above.